
Install Termix
How-To: Termix

Thursday 5th March 2026
Install Termix with Docker Compose
There are many alternative installation methods on their documentation page, but I’m going for the compose way this time, because it’s the easiest way and I get to try out the software fast.
Step 1: Create work directory
If you have read my container management article, you know that I have all docker related files under /srv/domain.tld/:
mkdir /srv/libertassolutions.io/termix
Step 2: Create compose file
You can create the compose.yml file inside the directory but I’m using portainer.
services:
  termix:
    image: ghcr.io/lukegus/termix:latest
    container_name: termix
    restart: unless-stopped
    networks:
      caddy-mgmt-network:
#    ports:
#      - '8080:8080'
    volumes:
      - /srv/libertassolutions.io/termix/data:/app/data
    environment:
      PORT: '8080'

networks:
  caddy-mgmt-network:
    name: caddy-mgmt-network
    external: true
I don’t need to expose ports because I’m using caddy for reverse-proxy. Here is the configuration for the caddyfile:
# Termix:
termix.nms.libertassolutions.io {
        reverse_proxy termix:8080
        tls /etc/caddy/certs/termix.pem /etc/caddy/certs/termix.key
}
Configuring Termix
Once termix is configured with compose, caddy, certificates and DNS records, you can open the management interface and create an initial admin account:
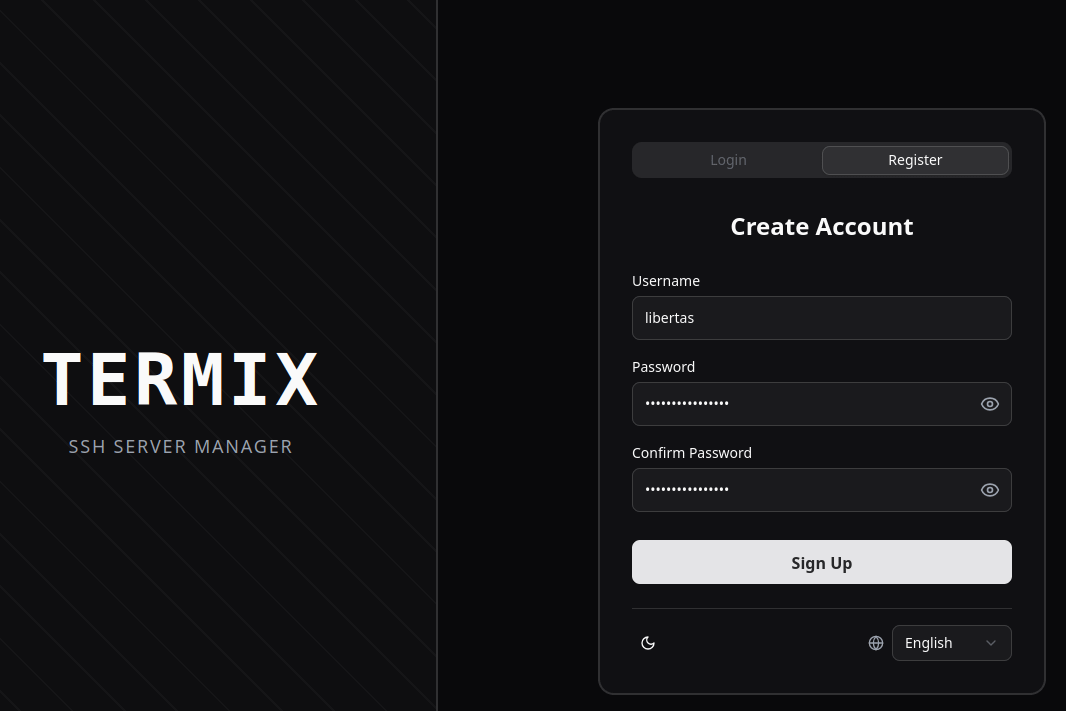
Create user accounts
The goal here is to have individual user accounts that can share hosts.
LDAP doesn’t seem to be an option, but OIDC = Open ID Connect, which is used for SSO = Single Sign-On, is. As far as I know my FreeIPA server can be integrated with and OIDC provider like Keycloak, but that will be a future article.
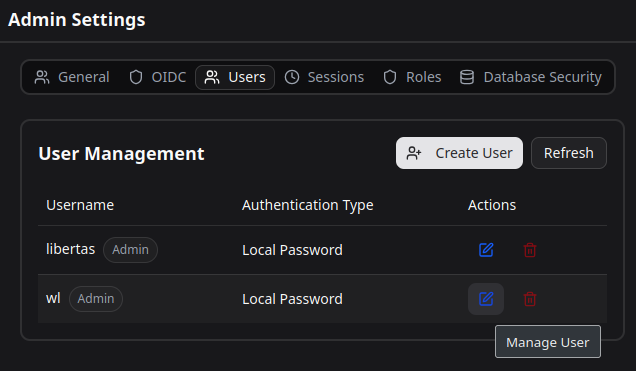
Create Local Users
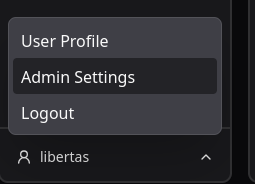
In the meantime, I will just create local users. Down in the left corner is a menu with your username. Open that menu and go to Admin Settings.
Navigate to Users and create your individual users for your team. You can also edit them to have administrator privileges if you want.
Register User
You can also let your colleagues register their accounts. That way you don’t have to assign them passwords. You can turn off registration whenever you want.
More configuration
I have more basic configuration covered in my article where i describe my first impression with Termix.
Keep in mind that these articles are only meant to get you started. For advanced features i recommend you checking out their documentation.
Install and configure the Termix Client
The most universal way for Linux users is to use the flatpak version.
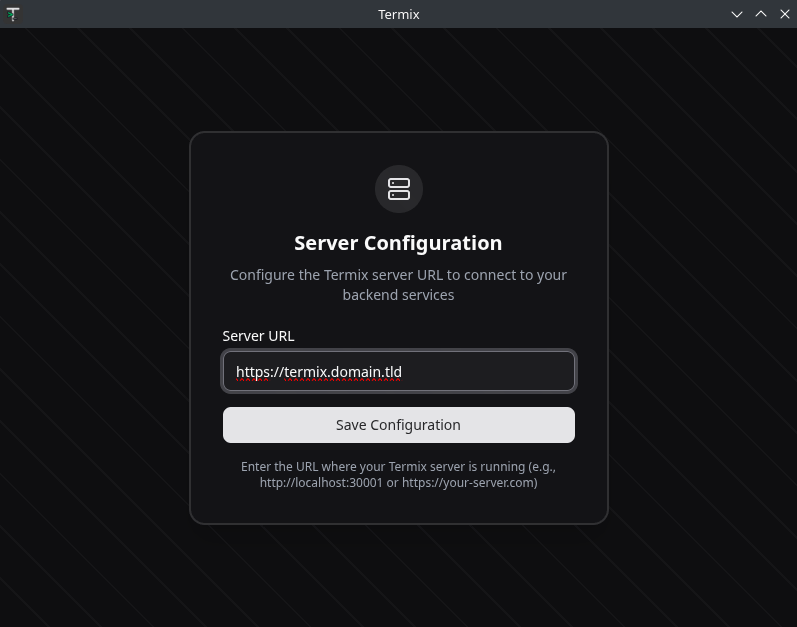
However, since this is only a web application, you might just as well install it as a webapp through brave browser.