
Installing Applications on Linux Part 2: APT = Advanced Package Tool
Linux Tutorial #5

July 5th 2023
Don’t let the “advanced” intimidate you. It’s advanced in the way that it automates a lot of tasks related to managing software. For you as a user it means a simpler life.
I have already covered what a package manager is and does in part 1, so let’s just start right away, in the Command-Line.
APT Command Line Tools
Why do I start with the Command-Line when this tutorial is for laymen that maybe never have typed in a terminal before? There are a few reasons:
I want to show you the development in chronological order from the stone age with the tarballs, to the future with Snap;
Sometimes you might not find the packet in the native GUI package manager, then you need to use the command-line;
And also to show you how fast and simple it is to use the Command-Line.
For a brief overview of the commands used:
apt search - Search for applications
apt update - updates repository information
apt install - installs packages
apt upgrade - updates installed packages to the latest version
apt remove - uninstalls installed packages
As you can see, the commands are pretty straight forward. Let’s look at one example in detail.
Finding Applications you want to install
If you installed Ubuntu / Kubuntu with the full installation option, you already have some useful applications installed, like the Libre Office suite for example. You can find these by opening the application launcher in the left bottom corner (Kubuntu):

For an application that is not included; this is an example how to install GIMP = The GNU Image Manipulation Program.
Step 1: Open up a terminal window; shortcut for that is to press Ctrl + Alt + T
Step 2: It is always a best practice to perform a “apt update” to make sure you have the latest versions from the software repositories:
user@computer:~$ sudo apt updateNote: You need to be the administrator of the machine to install software. “sudo” elevates the user to have administrator privileges. This will be covered in more detail in a future tutorial.
Step 3: Enter the “apt search” command:
user@computer:~$ apt search gimp
Sorting... Done
Full Text Search... Done
abr2gbr/jammy 1:1.0.2-4 amd64
  Converts PhotoShop brushes to GIMP

bleachbit/jammy,jammy 4.4.2-1 all
  delete unnecessary files from the system

compass-blend-modes-plugin/jammy,jammy 0.0.3+20150331~dfsg-3 all
  use standard color blending functions in Sass

...

gegl/jammy 1:0.4.34-1build1 amd64
  Generic Graphics Library Test Program

gimp/jammy 2.10.30-1build1 amd64
  GNU Image Manipulation Program

gimp-cbmplugs/jammy 1.2.2-1.1 amd64
  plugins for The GIMP to import/export Commodore 64 files

gimp-data/jammy,jammy 2.10.30-1build1 all
  Data files for GIMP
...
As you may find out, you can get a lot of matches. It even lists dependencies. The relevant package is called gimp and the repository it is stored on is called jammy.
Note: Another way, which is generally done by many, is to just open a browser and search for “install gimp ubuntu” and you will find instructions in no time.
Install Applications with APT
next step is to install GIMP:
user@computer:~$ sudo apt install gimpAs you can see in the log, APT automatically downloads and installs the required dependencies:
...
The following additional packages will be installed:
  gimp-data graphviz libamd2 libann0 libbabl-0.1-0 libcamd2 libccolamd2 libcdt5
  libcgraph6 libcholmod3 libde265-0 libgegl-0.4-0 libgegl-common libgexiv2-2
  libgimp2.0 libgts-0.7-5 libgts-bin libgvc6 libgvpr2 libheif1 liblab-gamut1
  libmetis5 libmypaint-1.5-1 libmypaint-common libpathplan4 libumfpack5
  libwmf-0.2-7 libwmf0.2-7 libwmflite-0.2-7
Suggested packages:
  gimp-help-en | gimp-help gimp-data-extras gvfs-backends gsfonts graphviz-doc
  libwmf-0.2-7-gtk
The following NEW packages will be installed:
  gimp gimp-data graphviz libamd2 libann0 libbabl-0.1-0 libcamd2 libccolamd2
  libcdt5 libcgraph6 libcholmod3 libde265-0 libgegl-0.4-0 libgegl-common
  libgexiv2-2 libgimp2.0 libgts-0.7-5 libgts-bin libgvc6 libgvpr2 libheif1
  liblab-gamut1 libmetis5 libmypaint-1.5-1 libmypaint-common libpathplan4
  libumfpack5 libwmf-0.2-7 libwmf0.2-7 libwmflite-0.2-7
0 upgraded, 30 newly installed, 0 to remove and 2 not upgraded.
Need to get 21,3 MB of archives.
After this operation, 106 MB of additional disk space will be used.
Do you want to continue? [Y/n] y
And then you’re done. Not so bad aye?
Install .deb files manually
The install packages designed for APT are called .deb files. Sometimes you might end up downloading a .deb file manually. You install it with the regular “apt install” command, but you do it from the folder you are storing the .deb file in.
Step 1: Open a terminal and navigate to the folder where the .deb file exists. The easiest way is to right click inside the folder with the .deb file and choose “Open Terminal”
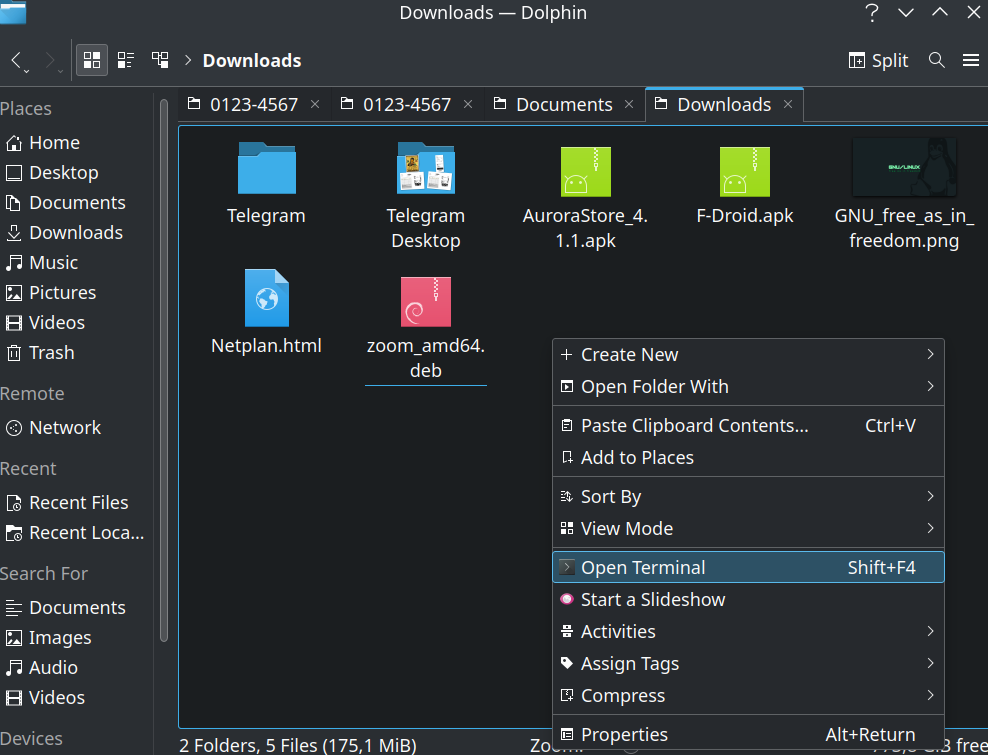
user@computer:~/Downloads$ sudo apt install ./zoom_amd64.debUpdate Applications with APT
When new versions are available, you can update your packages with the “apt upgrade” command
Step 1: First, update the repository information:
user@computer:~$ sudo apt updateStep 2: once repositories have been updated, enter the apt upgrade command:
user@computer:~$ sudo apt upgradeUninstall Applications with APT
To uninstall applications, you use the “apt remove” command:
user@computer:~$ sudo apt remove gimpAPT Autoremove
“apt autoremove” can be used to remove dependencies that are no longer needed:
user@computer:~$ sudo apt autoremove
Reading package lists... Done
Building dependency tree... Done
Reading state information... Done
The following packages will be REMOVED:
  aptdaemon aptdaemon-data enchant-2 fonts-open-sans gir1.2-vte-2.91
  libenchant-2-2 libhandy-1-0 libjavascriptcoregtk-4.0-18 libmanette-0.2-0
  libopenal-data libopenal1 libqrcodegencpp1 librlottie0-1 libvte-2.91-0
  libvte-2.91-common libwebkit2gtk-4.0-37 libxcb-screensaver0 libyelp0
  python3-aptdaemon python3-aptdaemon.gtk3widgets python3-defer xdg-dbus-proxy
  yelp yelp-xsl
0 upgraded, 0 newly installed, 24 to remove and 2 not upgraded.
After this operation, 103 MB disk space will be freed.
Do you want to continue? [Y/n]
Installing Packages using the native GUI Manager
You can try finding the apps through the native GUI package manager aswell. On Kubuntu it is called Discover.
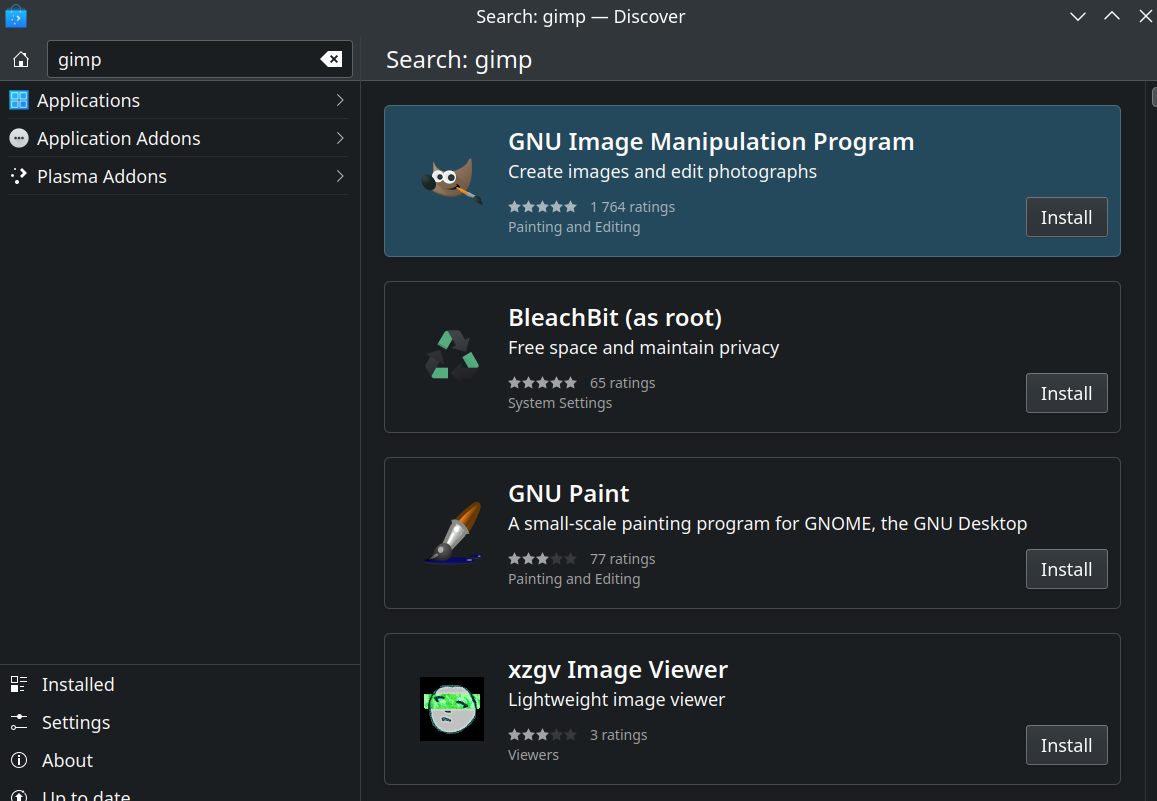
Note: You may not always find the app that you seek in Discover. I recommend doing an Internet search for install instructions in that case.
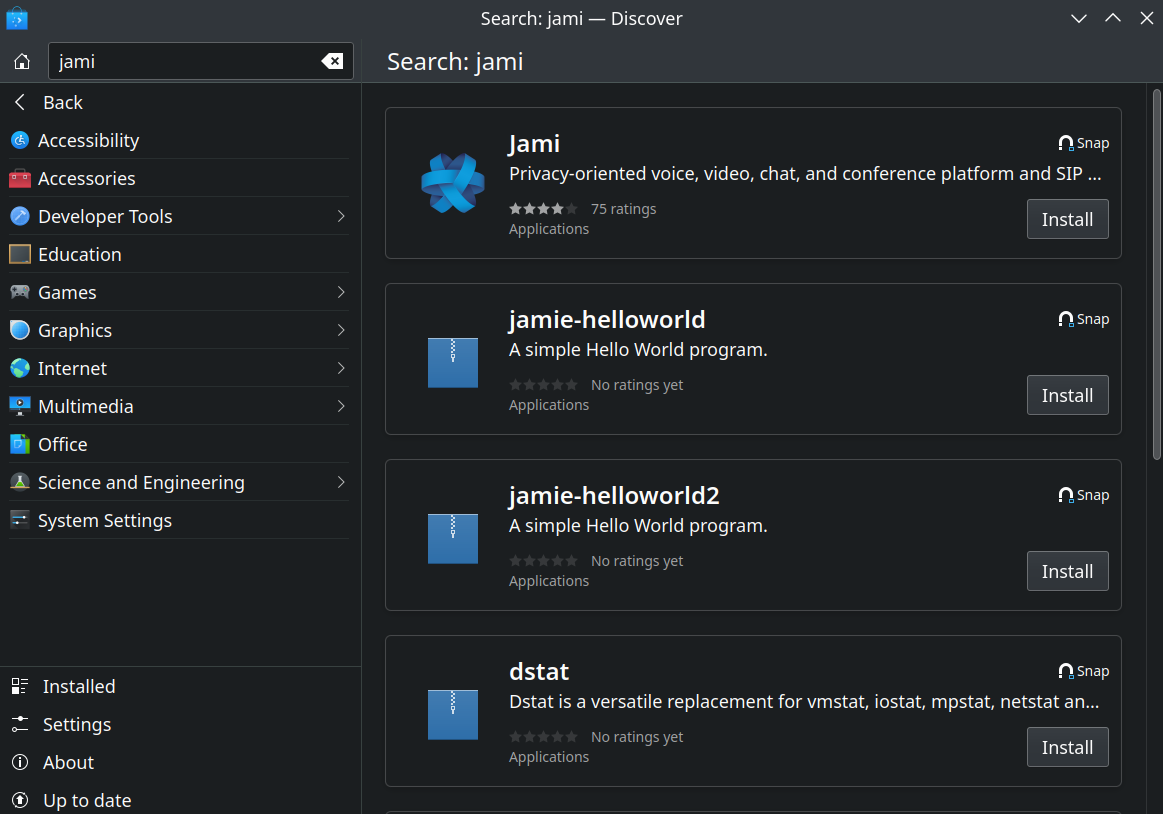
Note: Some software are marked with “Snap”. Those are snap packages and will be explained in part 3:
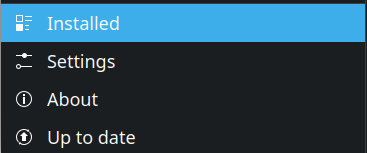
In Discover you can also:
Manage installed applications
Add more software repositories (advanced).
Update the system and installed applications
That concludes the Advanced Package Tool, which is included in all Debian-Based distributions. Ubuntu have one additional Package Manager that has had a rapid adoption rate, for both open source and proprietary software. It is called the Snap Package Manager and it will be covered in the concluding part 3.